
I reviewed PanoVolo last year and found it excellent Windows or Mac software for creating panoramic images, even 360-degree ones.
Now, PanVolo is back with some much-desired improvements and enhancements.
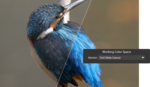
Panoramas can now be saved as linear DNG files. DNG is an open, lossless compressed image format developed by Adobe. PanoVolo now supports saving panoramas as DNG files in addition to stitching panoramas from DNG files, which was available before. Saving panoramas to DNG format unlocks the full range of editing controls in Adobe products such as Camera Raw and Lightroom, as well as other image editing software that supports linear DNG files. Note: Users will find that selecting “Auto” in batch mode will now save DNG panoramas when stitching is done from either DNG or TIFF files, and JPEG files when panoramas are stitched from JPEG files.
Alignment Optimizer
The new optimizer is about 200x faster and more accurate at adjusting individual image positions within a panorama. In practice, 70mm drone panoramas are now stitched about 2x faster and with higher overall image alignment quality.
Other Changes in This Release
-
Improved image size detection in image metadata
-
Fixed stitching issues with panoramas created from vertical images
-
Fixed wrong panorama rotation by 90° when stitching was done from vertical images
-
Improved reliability of panorama stitching for non-drone panoramas (i.e., when image positions and orientations are not available in the image metadata)
Using PanoVolo 1.9.0
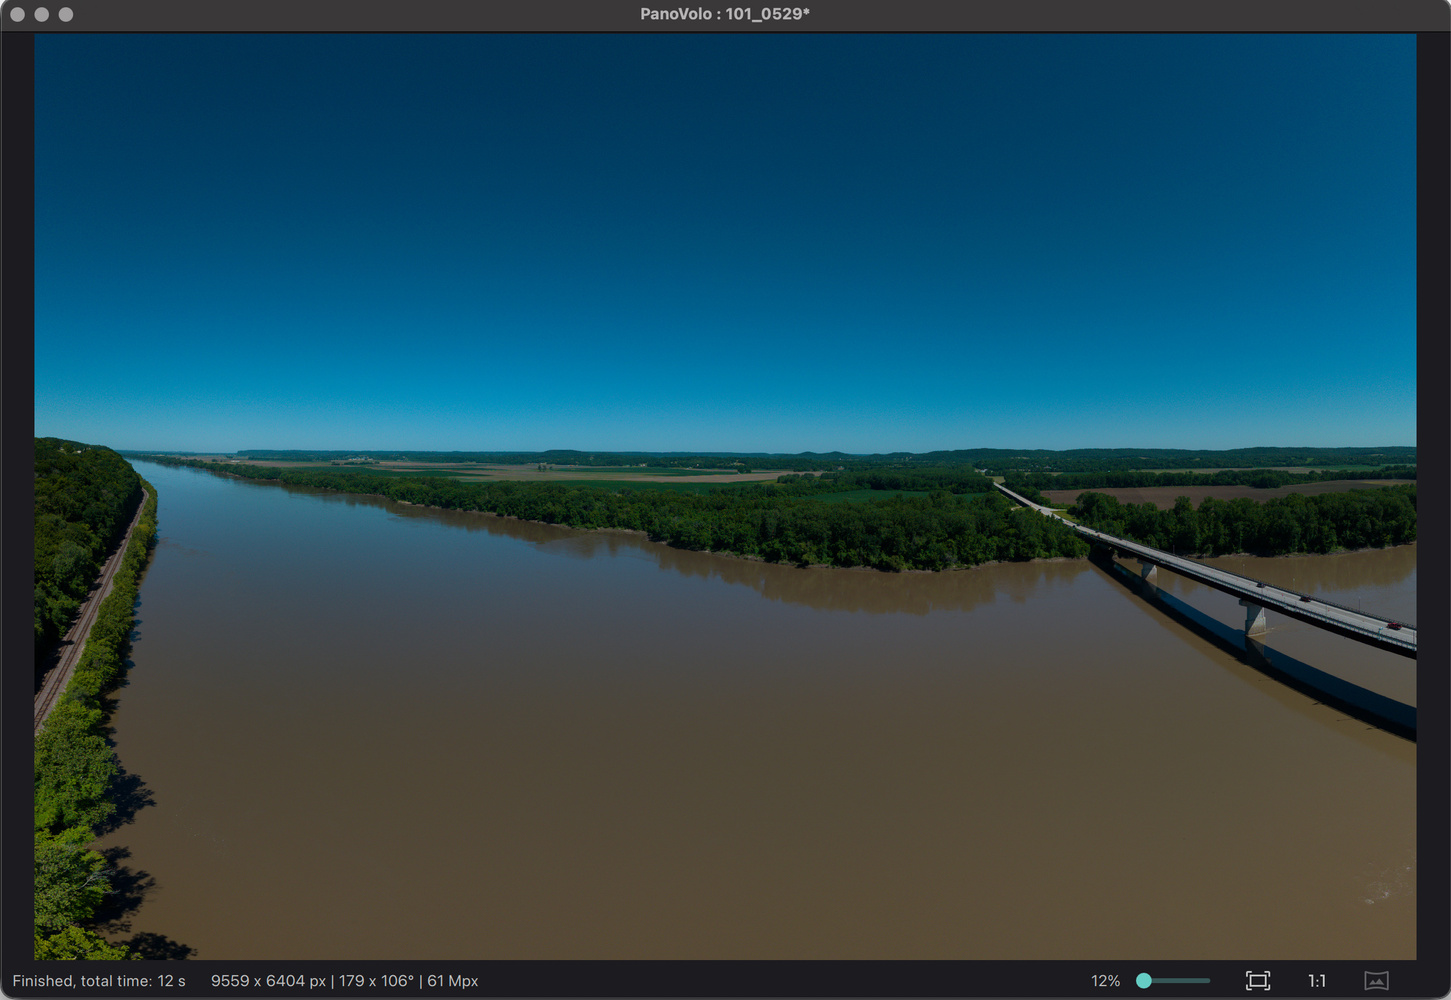
I mainly use PanoVolo for assembling drone panoramas, and the new version is much quicker. The ability to keep these files in DNG format is a real plus, so I can get as much out of the image as possible when taking it into an Adobe app or one of the many editors I use in my work.
A powerful feature of the app lets you edit the pano before assembly, with controls for pitch and roll if your drone camera didn’t get it right.
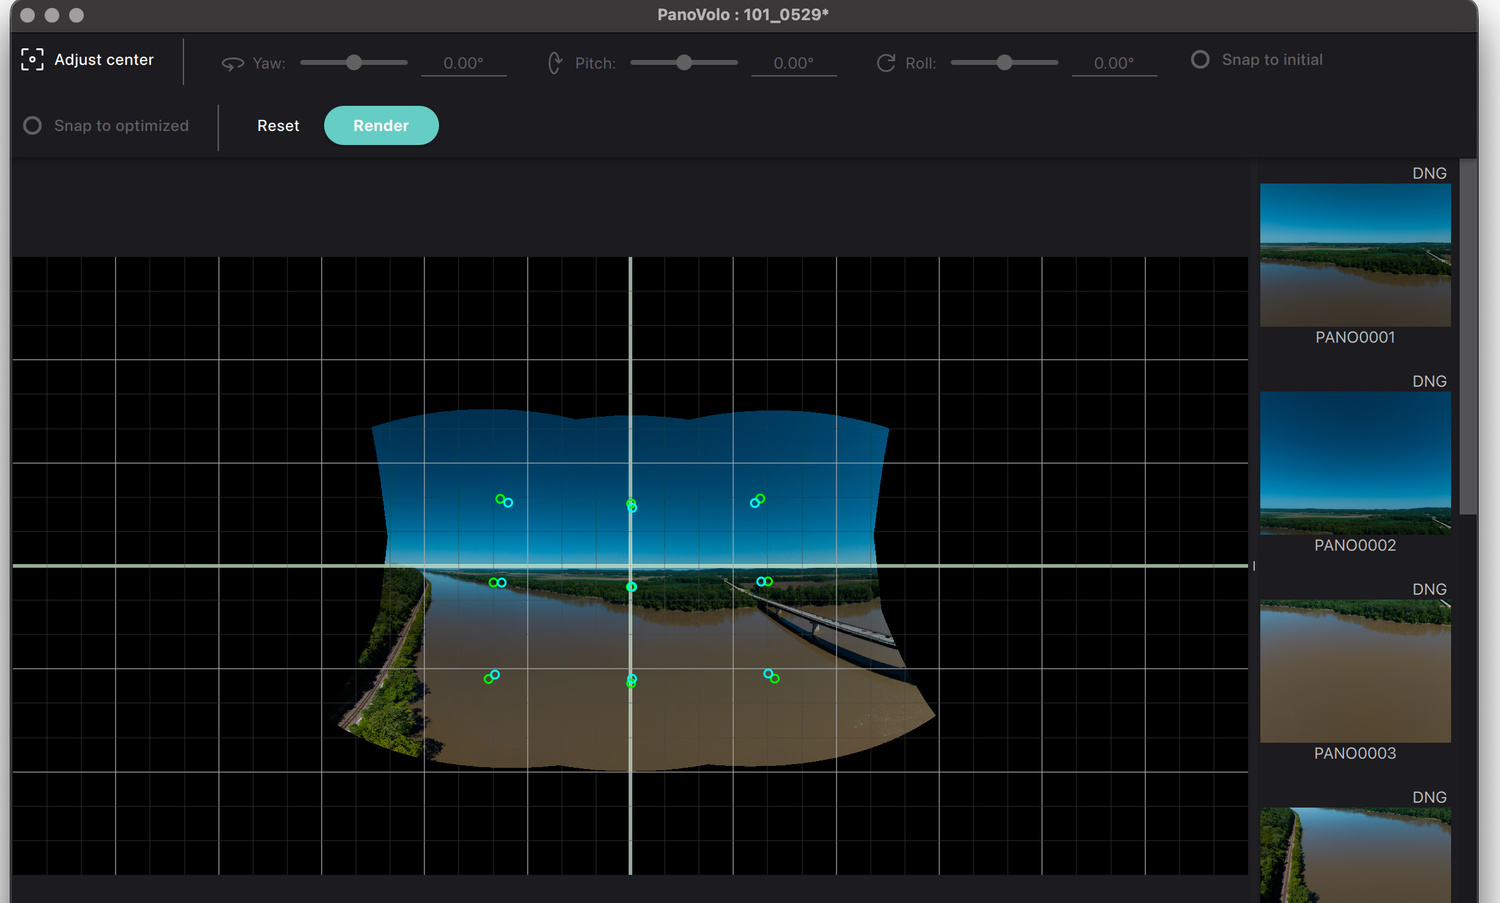
You can also view how the images were assembled, and one feature that users will love is that it can automatically straighten curved horizons by applying a geometric correction during stitching.
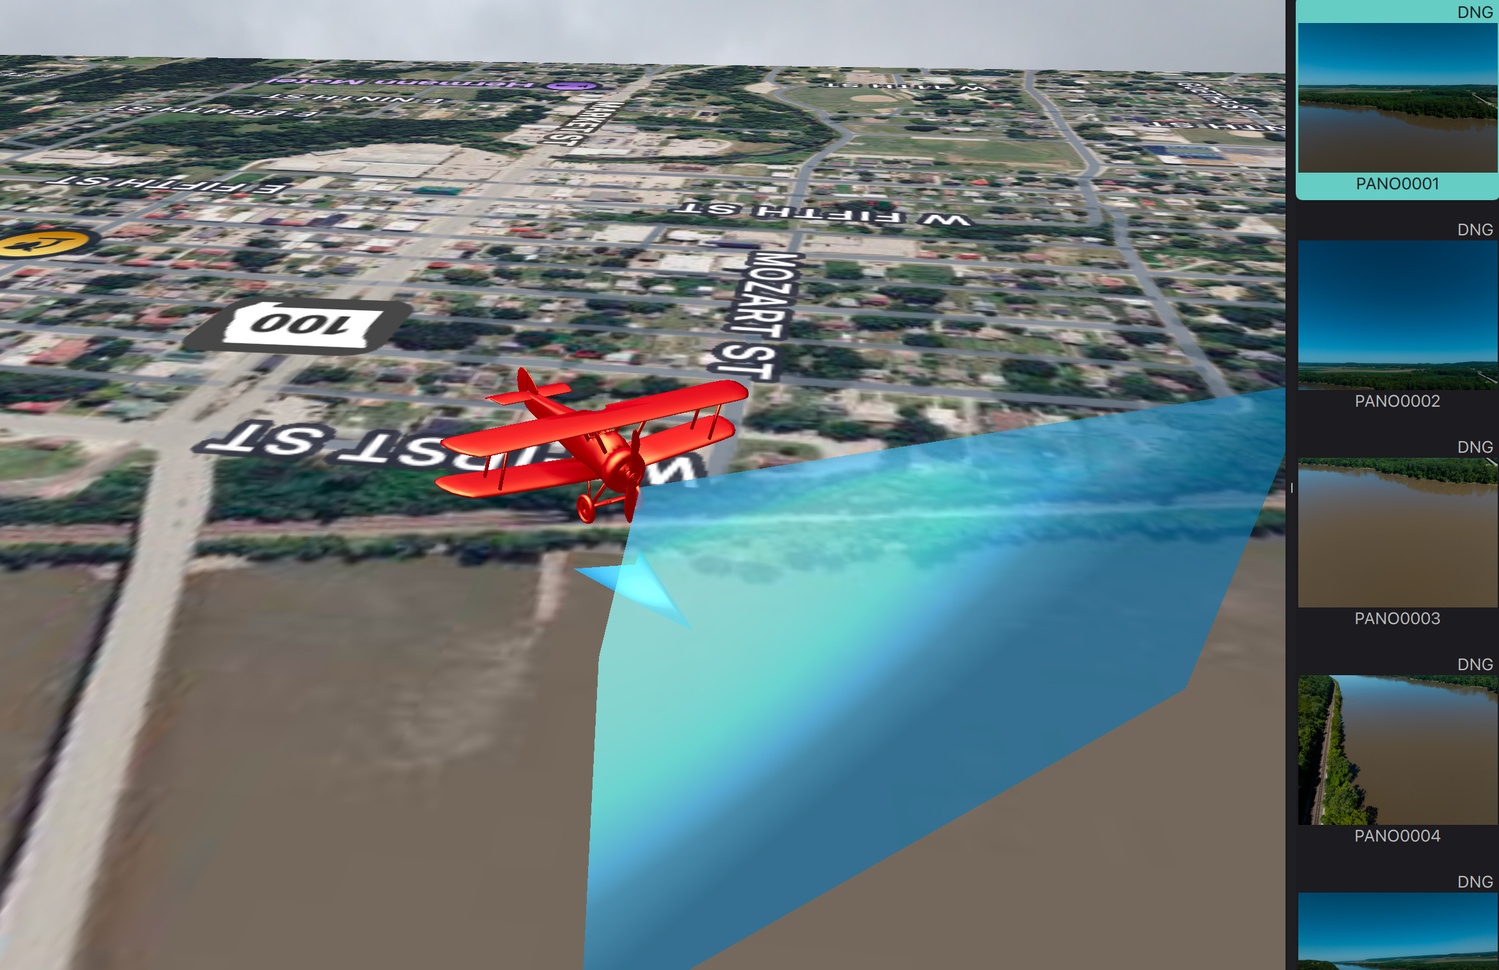
Another feature coming back is a 3D view that lets you see your field of view and where the images were taken on a map.
What I Like
-
This latest version is fast and accurate
-
Its clever algorithms mean you seldom have to go back and fix the geometry of images
-
PanoVolo has a very powerful batch mode that you can point at multiple folders while it creates high-quality images
I didn’t find negatives with this software. It’s reasonably priced, and the author keeps updating it.
PanoVolo works on Windows computers and Macs. It’s $29.99, with no subscriptions or recurring fees. Owners of the current version will get this latest update for free.
Highly recommended. I think PanoVolo is the gold standard for creating panoramas, and it’s low in price, easy to use, and accurate with its results.


How does it compare to the previous version and comparing to other panorama software like Hugin, autooano,... ?
First I downloaded and bought a license BUT when I tried to install windows pop up with notice not a Microsoft-verified App. So what's up, is this a to good to be true app?
Not necessarily that also might say that the app is not certified by Microsoft. To be certified, I think you need to pay a fee
I have to pay a fee? Kind of weird! Nope just Google "how are apps certified by Microsoft". Many will just bypass the " not certified by Microsoft " and install. Many people end up with a bugged computer.
One Panorama program/app that I found really great is "Panorama Studio Pro". I did a couple of Milky Way Arch panorama's with a stepper set for my Sony 14mm f/1.8 then did a couple with the new Venus Optics Laowa 10mm f/2.8 Zero-D FF Autofocus Lens (Sony E) and did not change the Panorama Rig's Stepper to a wider coverage. Depending on a lenses millimeter size a 13-16mm you set the stepper at 60 degree adjustment lever at 30 and a 8-12mm 90 degrees adjustment lever at 16 found in Panorama VR-System Slim manual. When on location I had it set for a 14mm lens but then put on the 10mm lens not changing the stepper setting.
I tried PTGui but I was having to link more images and very time consuming, I even tried Lrc it worked on a few but only one profile, yes it does work for some right out of the gate.
"Panorama Studio Pro" put all together real fast with no adjustments needed just a small cropping.
I tried to process but time of MW panorama was too bright and Galactic Center and above could barely be seen for first light on horizon on horizon and with fog issues, But "Panorama Studio Pro" did get a couple of whole editable images in just a few minutes each.
Finding the settings for lens mm and stepper settings is almost impossible, I could on find in my VR-System Slim manual, using the rule of thirds image on the back of camera at night using only ground objects is hard to see and the degree markers on the tripod you need a flashlight more time.
For some help doing a panorama best to use a high MP camera and very wide and widest open aperture reason both require faster shutter speeds meaning a 5 to 10 seconds and using camera NR on you will have 5-10 seconds to move to next click with very few changes in lighting between each image.
I do not know about drone info.