This is lightning season for large parts of the U.S. and Europe and the rest of the world, especially in the Northern Hemisphere.
Where I live in Southern Arizona, we're in the monsoon season, with heavy rains and lots of electrical activity in our skies.
There have been numerous articles on using a DSLR for taking lightning images, using a remote device to activate the camera so you don't vibrate it, and time exposures can serve photographers well for shooting lightning.
A Solution for iOS
iPhone and/or iPad owners have a really simple solution that is pretty much automatic. It's a little $1.99 app called iLightningCam 2. While you can use the iPhone camera manually and set shutter speed and ISO on your own, the beauty of this little gem is a full auto mode. It automatically changes from day to night mode depending on when you are looking for lightning, but it also sets ISO and other parameters based on the last lightning strike it sees.
According to the developer, the app uses true real-time recognition of lightning strikes. Once recognized, your iPhone takes a picture of the lightning in full resolution.
You only need to have a good and safe place to view a thunderstorm.
Using iLightningCam 2
The app can work freehand, using your camera’s anti-shake capability. Just point your iPhone toward the scene, part of the sky, or thunderstorm where you expect the next lightning strike, start iLightningCam 2, and wait. The app will automatically press the trigger if lightning is detected in your view.
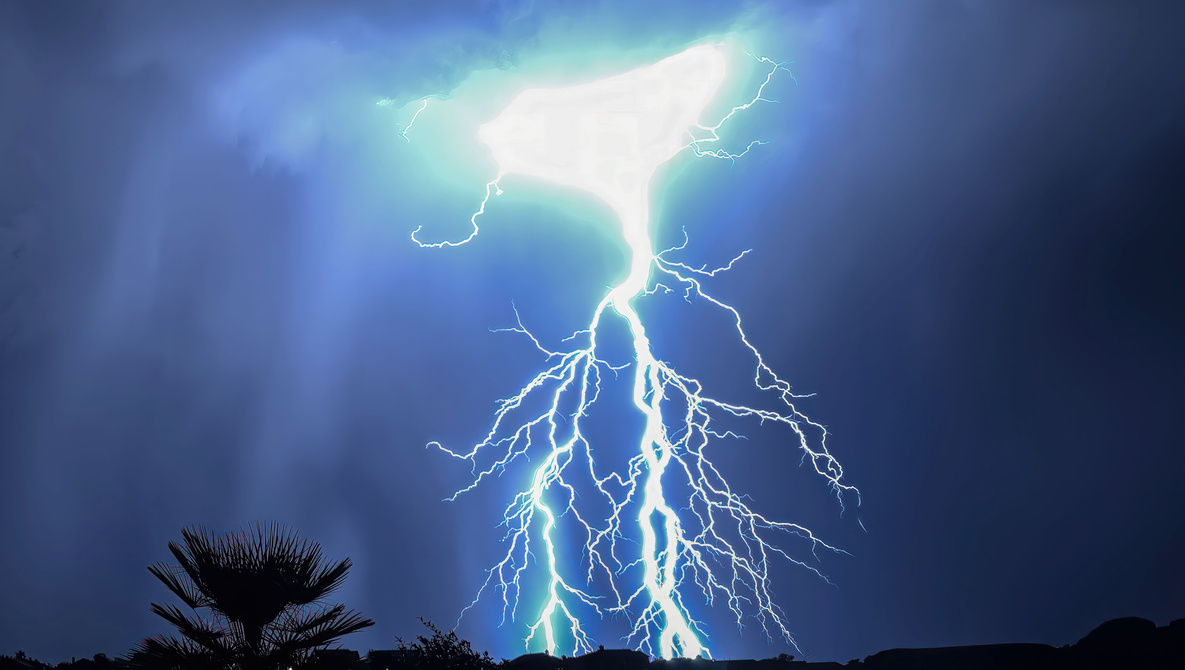
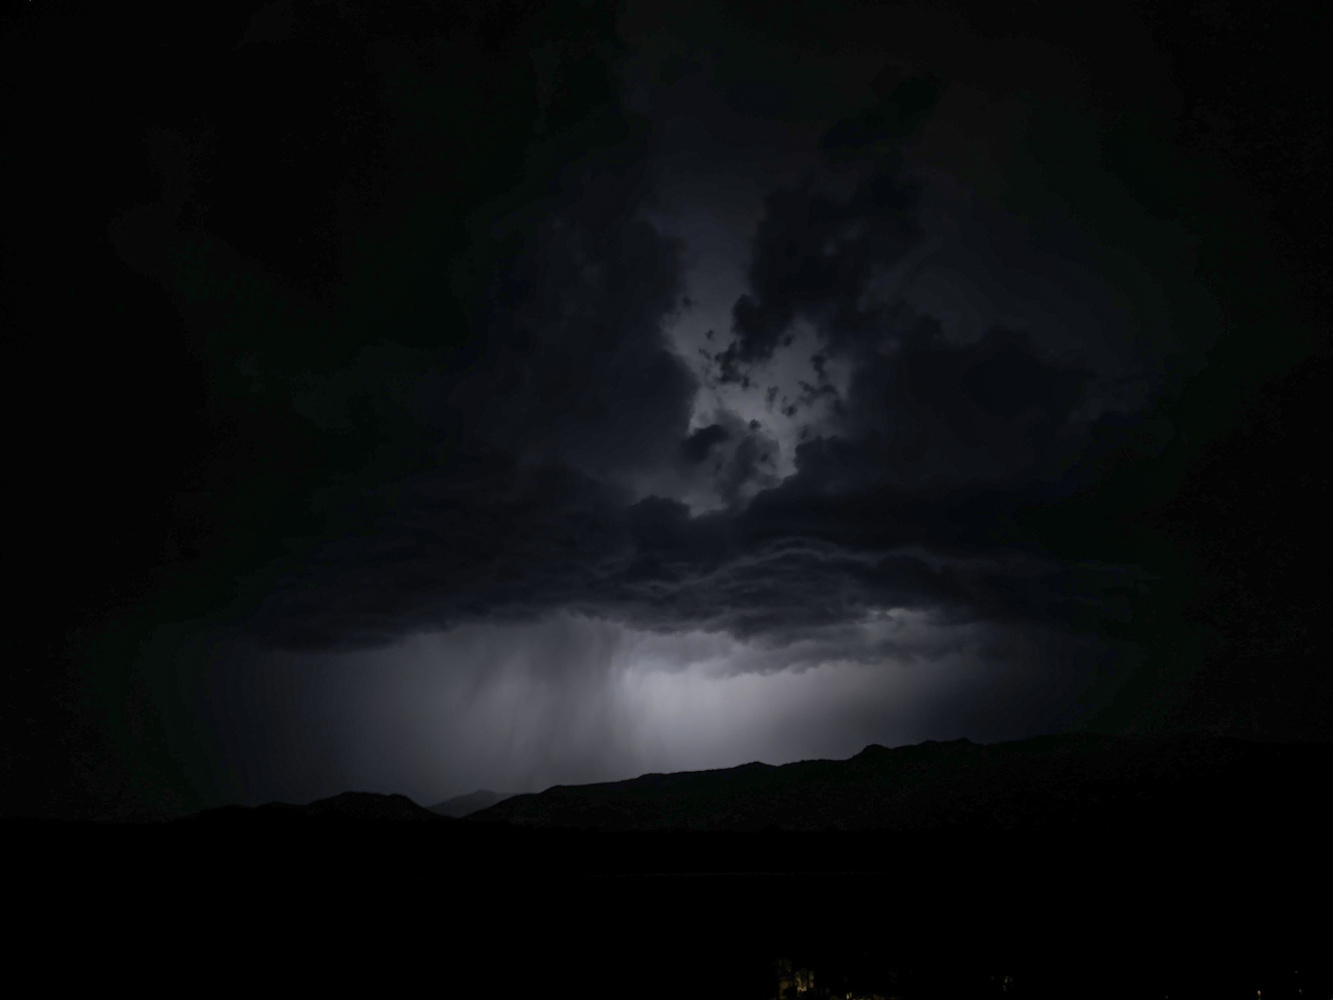
I took this image some years ago using the app with my iPhone 7, and iLightningCam 2 performed very well.
You'll get even better results on a tripod, full size or tabletop. Then you can walk away and let the app do its thing.
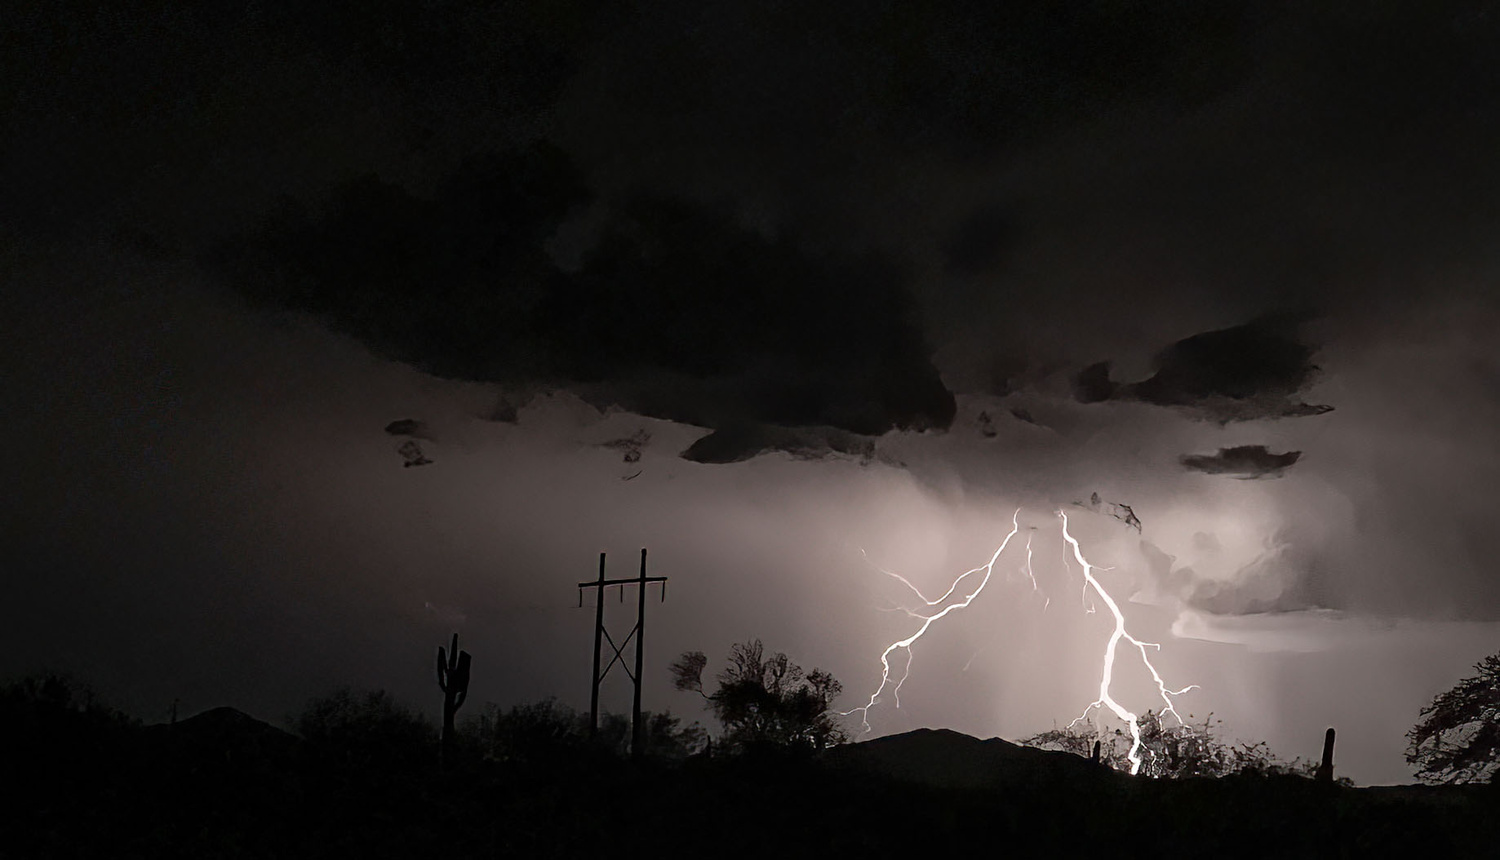
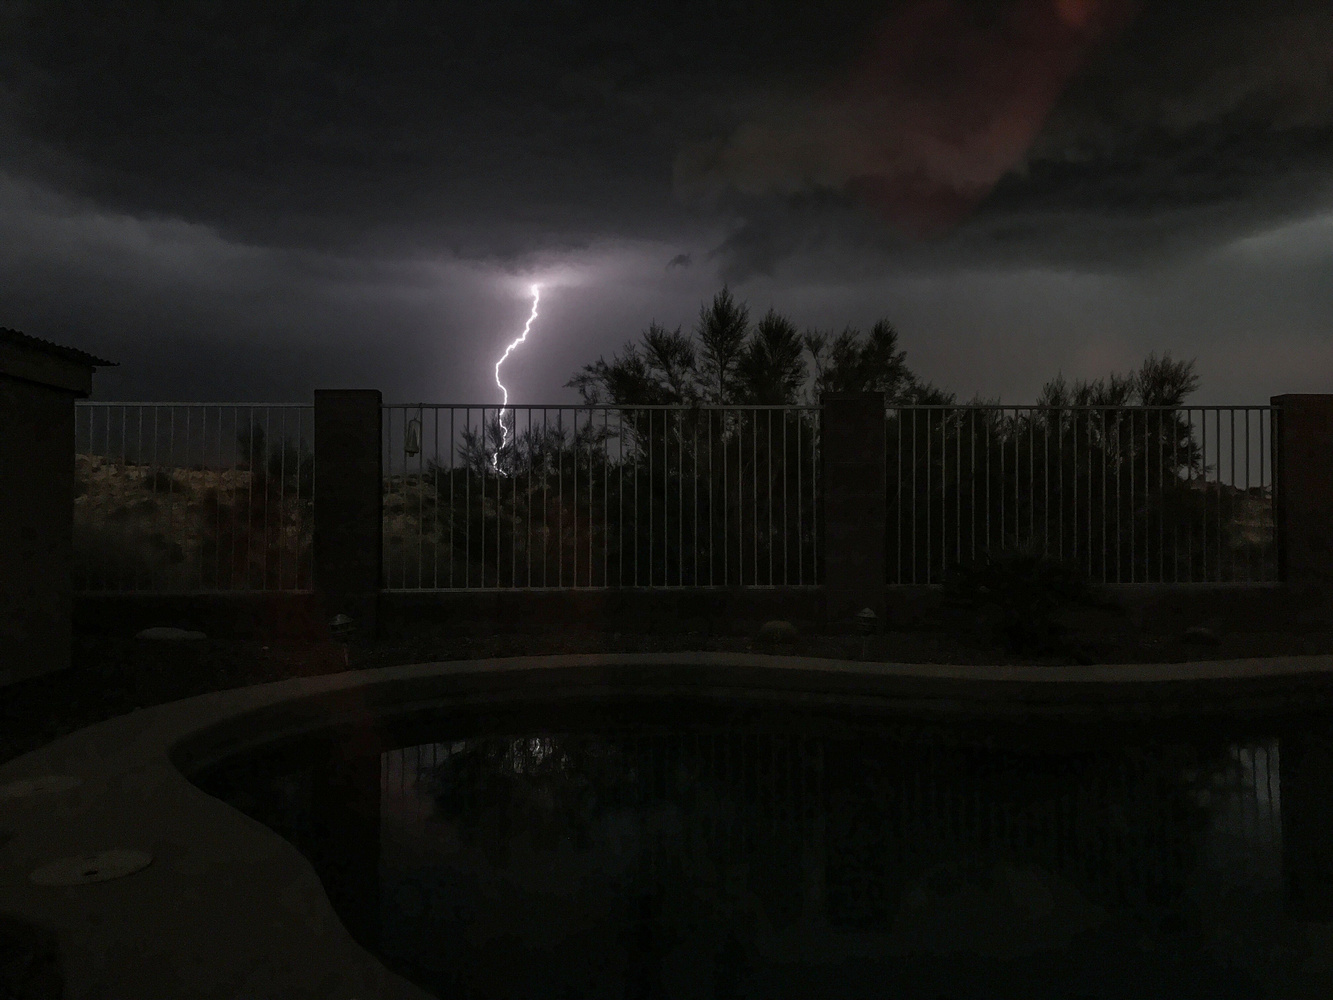
Most nights when there is a good storm, I get some really good shots using my iPhone 16 Pro Max, but almost any fairly recent iPhone will do well.
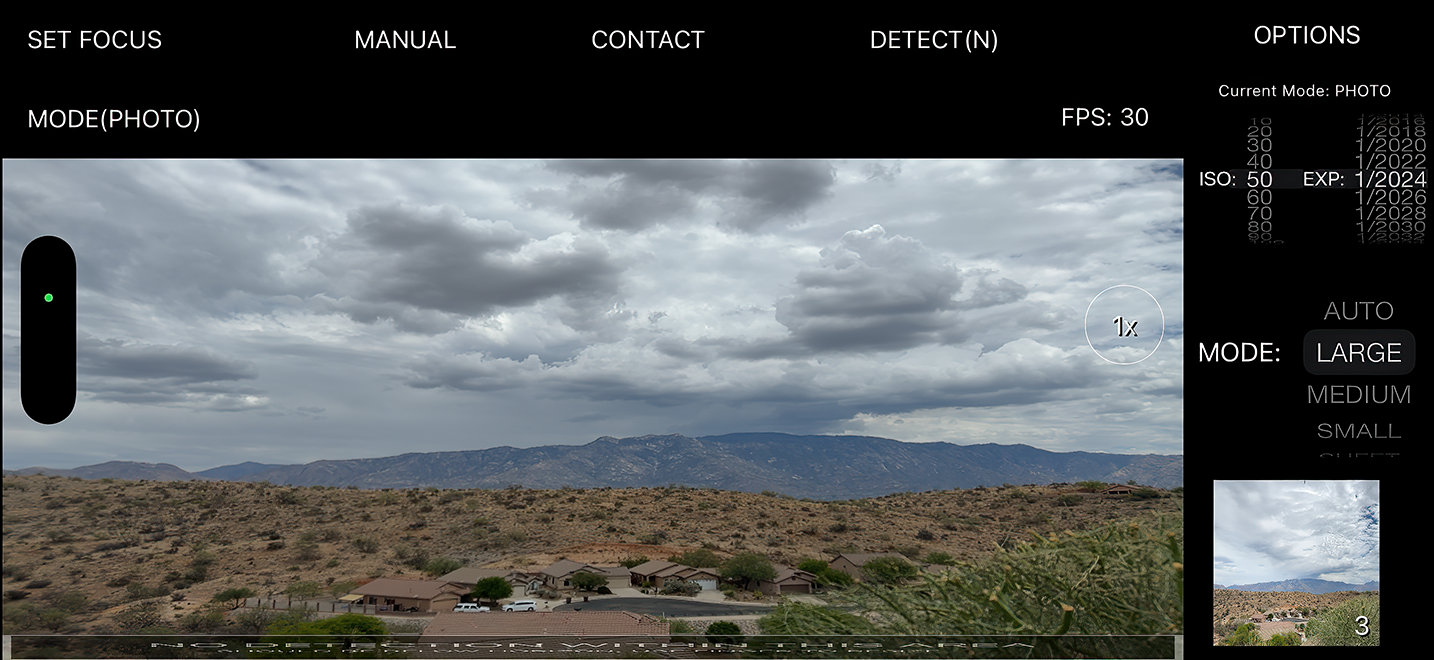
The screen of the app will show you your last shot and count the number of good frames it has acquired.
If you want a landscape scene in the view, you can drag up a control bar from the bottom telling the system not to look for lightning where there's ground or buildings.
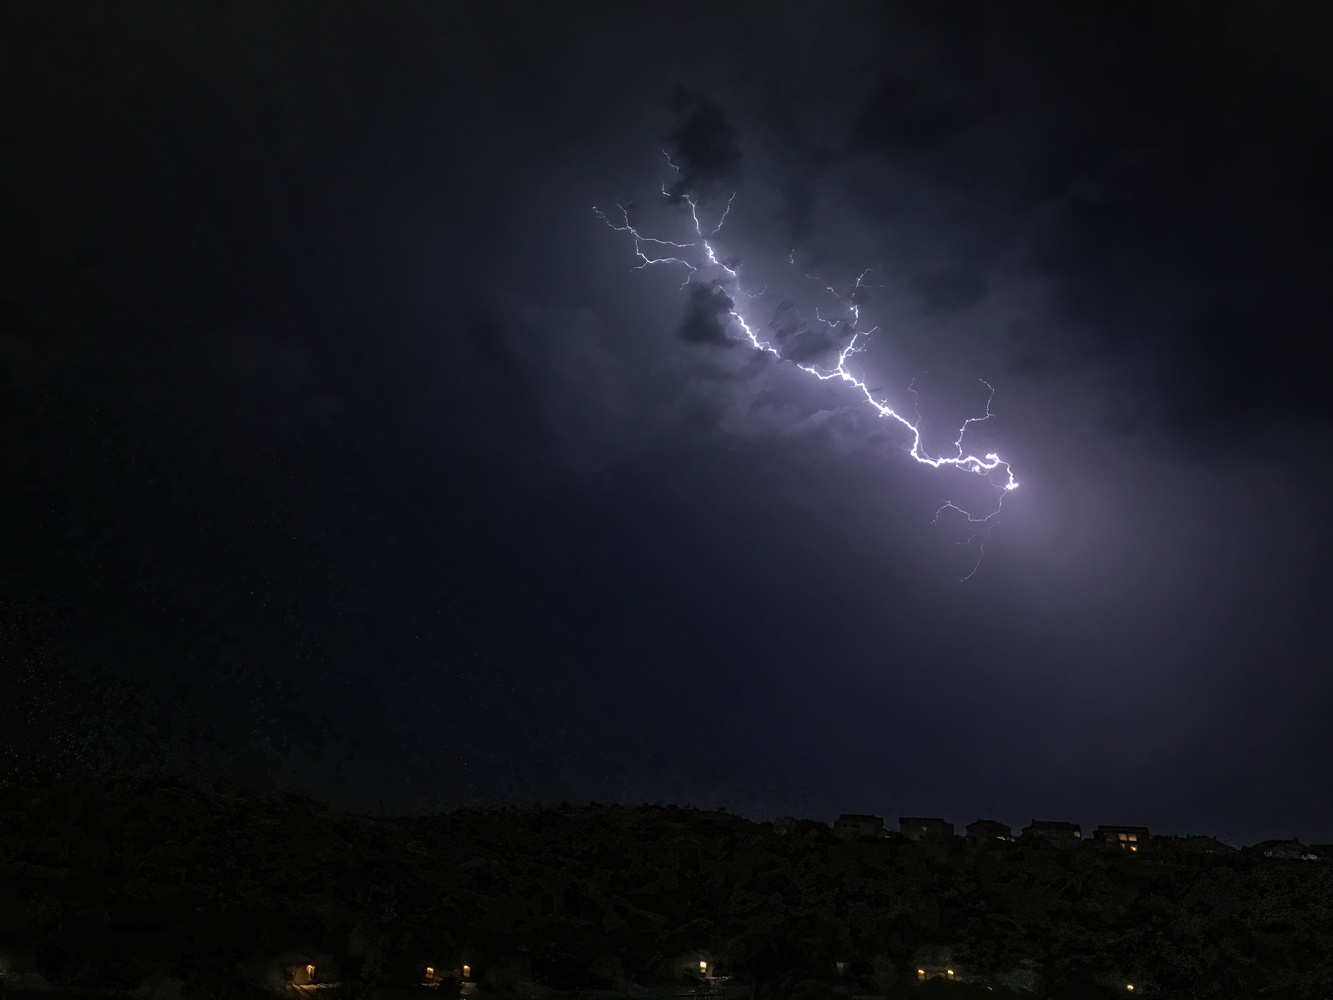
The app isn't always perfect. Sometimes it gets fooled by a sudden flash of lightning buried in the clouds that just makes them glow, but you can throw those away and keep the good ones.
The new iPhone has really good dynamic range, but I suggest you get your images into Photoshop or another editor to play with black levels and shadow detail. I find the clarity slider in Camera Raw can really help an image.
Now certainly, with a good DSLR or mirrorless camera, you can get better performance and detail, and there are even some plug-in devices that can automatically trip your camera when it sees lightning bolts, like the Strike Finder, and the MIOPS Trigger, but as a quick "there's a storm outside and I want to grab some lightning" solution, this app can't be beaten.
What I Like
-
iLightningCam 2 is dead simple to use
-
There are manual settings if you want them, but in most cases they’re not needed
-
Images are saved to your Photos app on iOS devices and sync back to your Mac or Mac laptop
-
The app can utilize multiple lenses if your iPhone or iPad has them
-
The app is a one-time purchase, no subscription
What Could Be Better
-
Sometimes, a quick brightening of clouds can fool the app algorithm, so you'll likely throw away a few shots
All in all, iLightningCam 2 is a quick and dirty way to grab some spectacular lightning photos.
This app is not available for Android phones, but Android users can likely find some similar apps for their platform.
I'll also add the usual caveat that photographers need to be careful. Try to take your photos from a safe place, preferably during a storm that's not right on top of you. Lightning has a way of finding human targets that don't expect to be targets.


Panasonic Lumix cameras have pre-burst recording in 4K at 60 fps or 6K at 30 fps which converts to approximately 8 MP and 18 MP images respectively. Set up the camera and turn on the pre-burst recording mode. When lighting flash occurs press the shutter button and it captures 1-sec before and 1-sec after. The cameras also have 4K and 6K start/stop burst mode that starts recording with the first shutter button press and stops with the second. You can go through and save just the frames that capture the peak moments.
Some years ago there was a device you put in the flash shoe and would capture the lighting.
https://strikefinder.photo/#:~:text=The%20Strike%20Finder%20is%20a,easil....
The Strike Finder® 2 camera trigger is a compact, sensitive and responsive camera trigger, designed to capture lightning strikes either day or night. It’s just three inches in size, enabling it to be a lower profile than its predecessor.
I apologize just got curious, hope this helps those with hand held cameras so as to get High MP images.
I have captured some while capturing MW's off the east coast of Ga. Jekyll Island, Mother Nature gave me a plus image. Dark Skies sometimes have low clouds close to ocean while clear over head. You never really know what is there till you get there, Thanks to Sony Mod 2's and beyond with the hidden Bright Monitoring function I put on the Thrash button to see in the darkness to get a lay of the land and out on the ocean.
If only I had an iPhone. :-[ We do have an older one but it's really not mine alone to take and use.
But I found this for my Sony: Miops Camera Trigger with Shutter Release Cable for Sony. Has anybody used this device? What do you think of this solution?